Home
Introduction to Gut Analysis ToolBox
Gut Analysis Toolbox is published in Journal of Cell Science as open access. Click here to read.
STATUS: ✅GAT is working. Please follow updated installation instructions.
24/07/2025: DeepImageJ bugs resolved and GAT updated.
Highly recommend downloading a stable version of Fiji and installing GAT from scratch. Refer to updated Installation instructions.
Better ganglia segmentation model. Technical details: Benchmarks tab on left menu.
Another important change is that 3D ImageJ Suite needs to be added to update sites for GAT to work properly.
If you come across problems, go to our Troubleshooting page for any fixes or contact us using any of the methods in the Support section
Gut Analysis Toolbox enables semi-automated analysis of the neuronal and glial distribution within the gut wall (enteric nervous system). It uses a combination of FIJI macros, StarDist and deepImageJ under the hood to do the heavy lifting with automated segmentation.
For large 2D tilescans of gut wholemounts, it is recommended to use QuPath for ENS analysis. The StarDist model for neuron segmentation has been converted for use in QuPath.
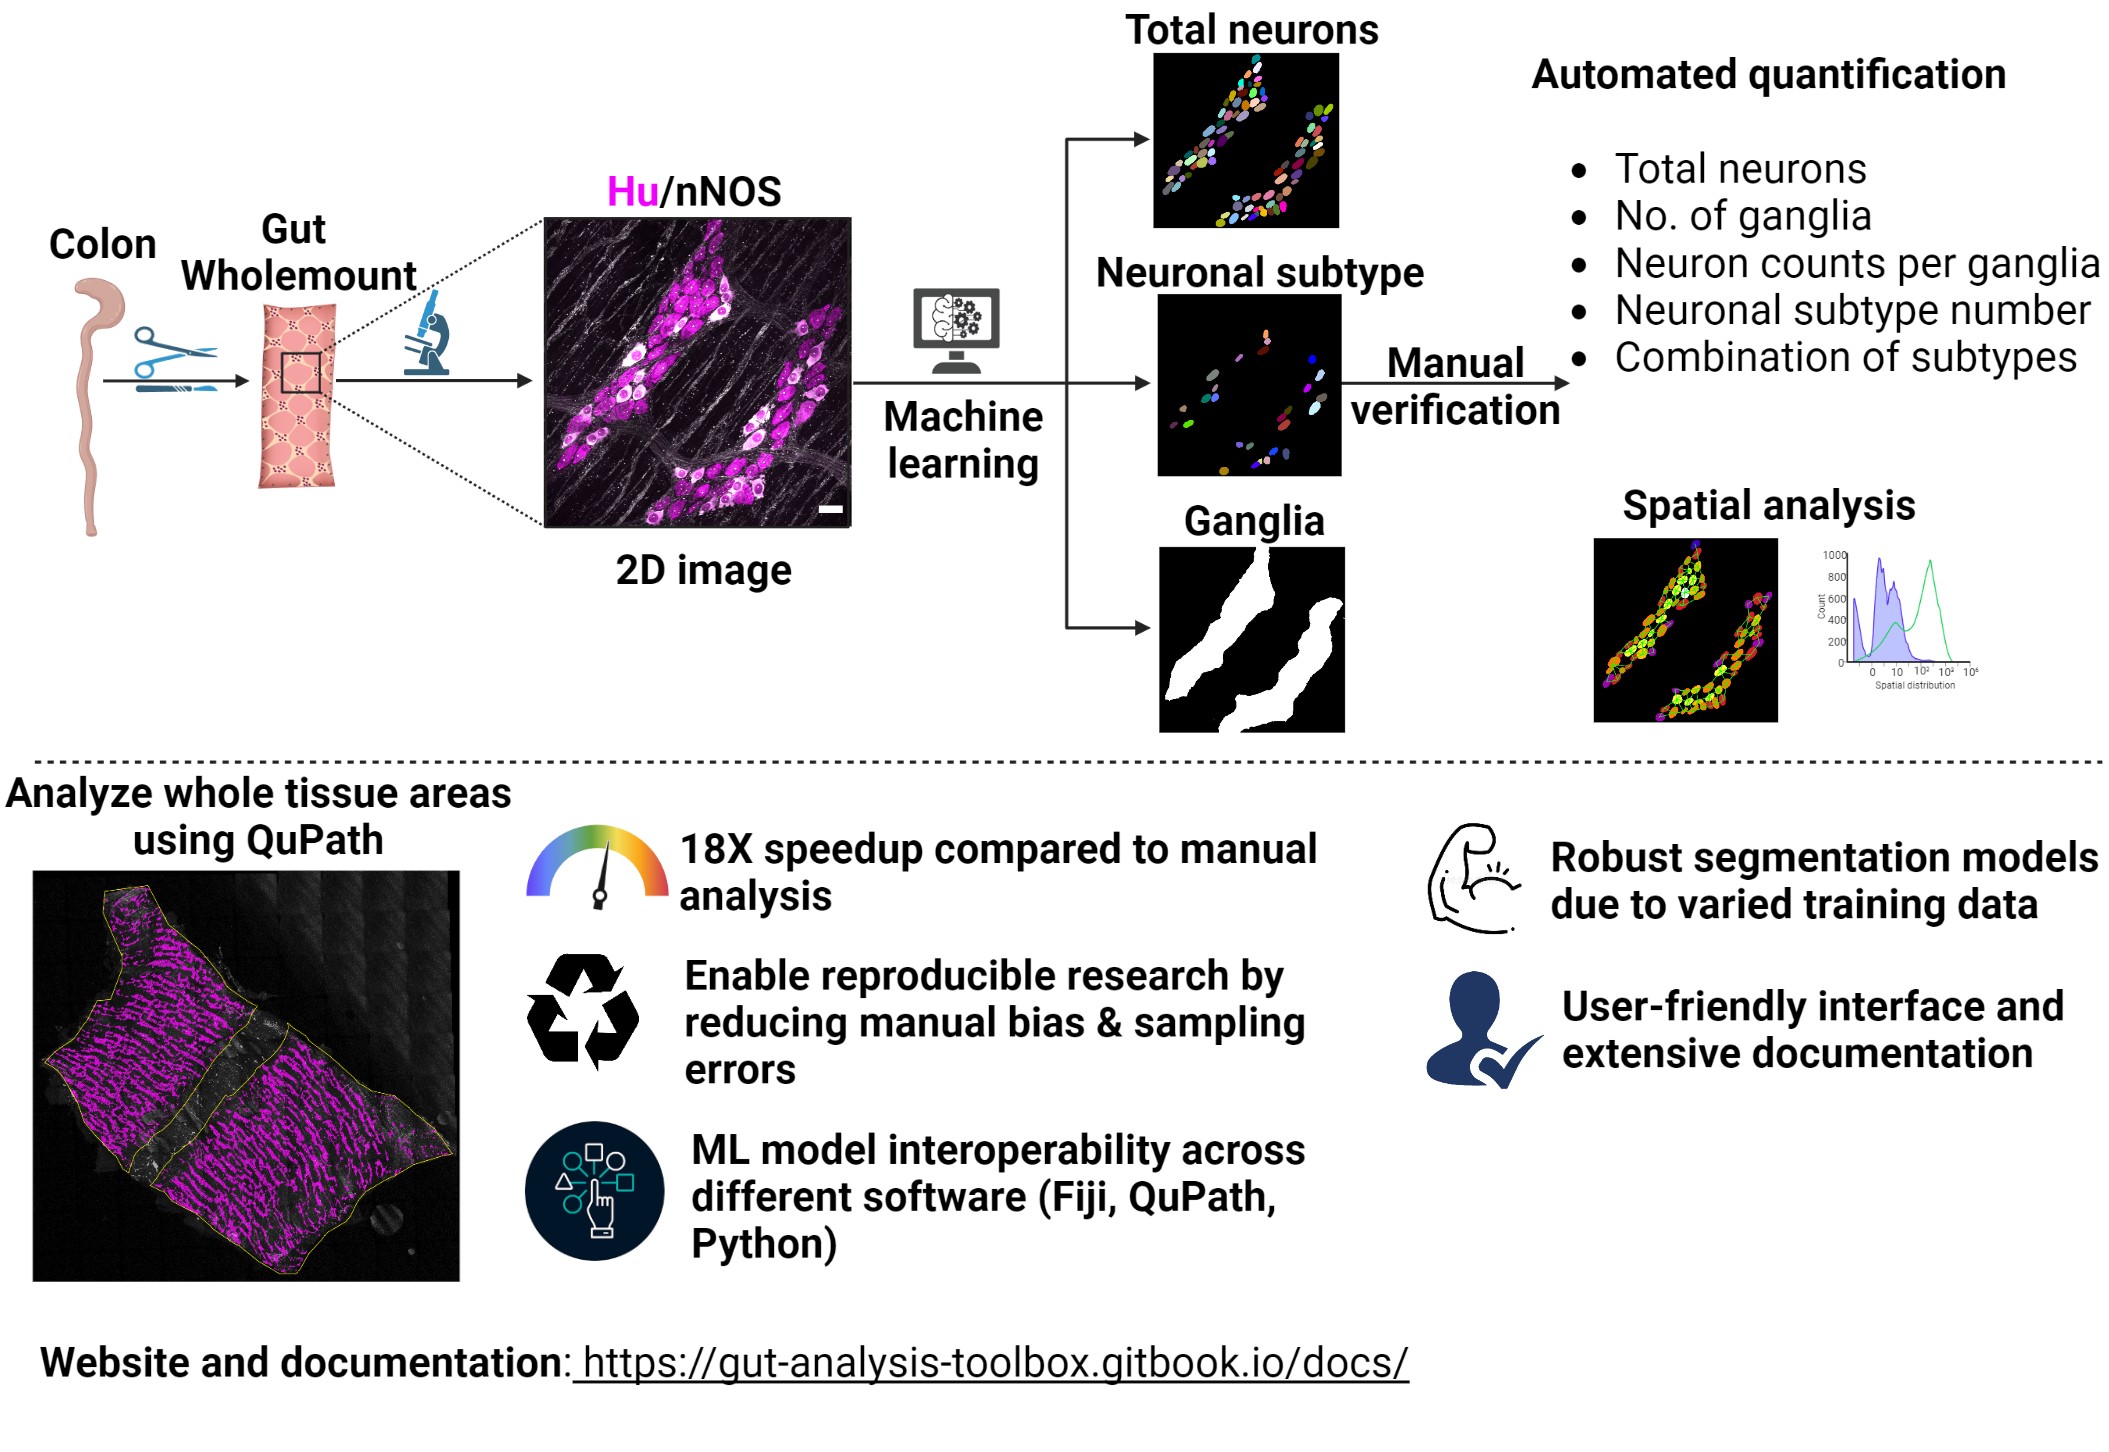
What you can do with GAT:
Semi-automated analysis of number of enteric neurons: Uses pan-neuronal marker Hu or anything with similar labelling
Normalise counts to the number of ganglia.
Count number of neuronal subtypes, such as ChAT, nNOS etc..
Spatial analysis using number of neighboring cells.
Calcium imaging analysis: Alignment of images and extraction of normalised traces
Multiplex image alignment and analysis
The deep learning models supplied with GAT enable automated segmentation of:
enteric neuron soma (StarDist)
enteric neuronal subtypes (StarDist)
ganglia (deepImageJ)
The models have been trained using the easy-to-use notebooks from ZeroCostDL4Mic. The training data including the notebooks are available here:  .
.
Click on the sidebar to navigate through the WIKI.
Disclaimer: It is highly recommended to verify the output from the model and not to use it blindly. We have made every effort to ensure the models works across a range of 2D images, but it is likely you may have to tune parameters by testing on your images. In some cases, you may need to train a new model or contribute data for training.
You can watch GAT instructions as video tutorials on Youtube by clicking on the image below.

Over time, we will be introducing features such as analysis of other cell types/image modalities related to gut research. Feel free to contact us or post a suggestion as an Issue. The documentation is also being updated constantly as we are adding new features. Let us know if something doesn't look right by posting an Issue.
Disclaimer (again!): You should always verify the results of the segmentation as well as the outputs. GAT is by no means perfect and if not configured properly can give you incorrect segmentation results. Test it on couple of your images (smaller crops) from different repeats to make sure it works consistently.
Installation and configuration
It is recommended to use a fresh install of Fiji for working with GAT.
Download Fiji from this link. Make sure you use the Stable Version. This step is different than previous GAT versions.

Watch this video to see the Fiji installation process.
To configure GAT, you will need to install a few plugins first
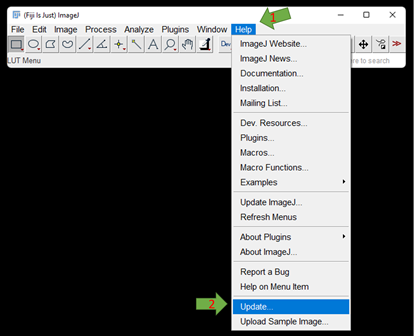
You will get a pop up window that will check for updates:
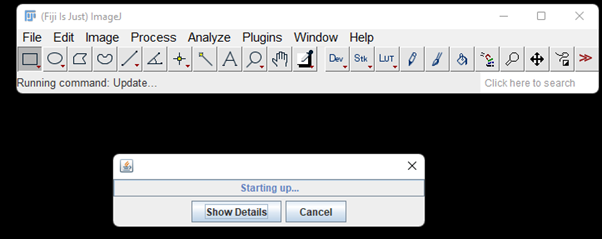
Once its done, the ImageJ Updater box will appear. Click Manage update sites on the bottom left and a window pops up:
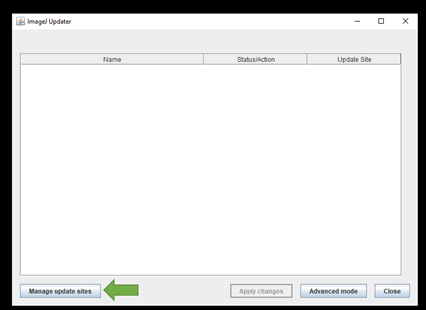
To install a plugin, tick on the corresponding boxes.
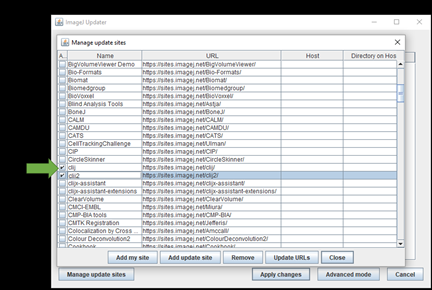
Update sites
For installing GAT, tick on the following boxes:
3D ImageJ Suite
BIG-EPFL
CSBDeep
clij
clij2
DeepImageJ
Gut Analysis Toolbox
IJPB-Plugins (MorphoLibJ)
StarDist
PTBIOP
For calcium imaging analysis, you have to enter one update site manually. Follow the instructions here and when it comes to entering the update site, use this: https://sites.imagej.net/Template_Matching/
Once all the boxes have been ticked, click "Apply and Close"
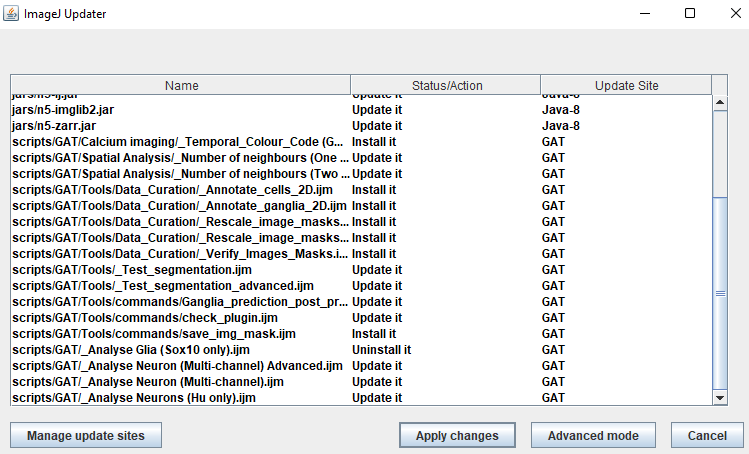
All the dependencies and scripts from the update sites selected above will appear in the ImageJ Updater.
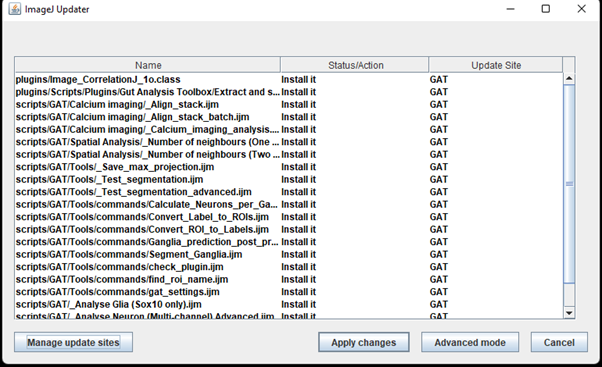
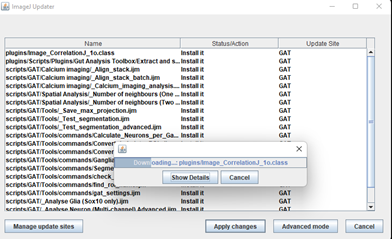
Click “Apply changes” and once its finished, restart FIJI.

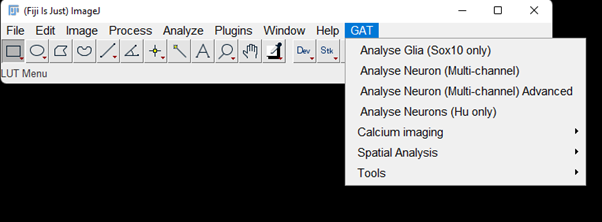
After all the installation and configuration, when you restart FIJI, you should see the GAT menu appear on FIJI.
IMPORTANT:
When you update Fiji again, if you get a warning to update protobuf, make sure you click "keep the local version". This will ensure that StarDist works, otherwise neuron segmentation will not work.
If you have any trouble with installing model files required for segmentation, check the troubleshooting page.
Updating GAT
GAT will be updated with features every now and then especially if any bugs have been reported. Usually FIJI may let you know if there are any updates. If not, you can manually update this by going to Help -> Update
If there are any updates, it will appear in the Updater window:
Click Apply changes. The updates will be downloaded. Once its done, make sure you restart Fiji. The newest version of GAT should be available.
Note: Ensure you run the DeepImageJ plugin before using GAT, or segmentations won't work. Navigate to Plugins -> DeepImageJ -> DeepImageJ Run. A green Installation progress bar will appear in the DeepImageJ window's top right. Wait for it to complete and then run GAT.

Filetypes supported
GAT is aimed at analysing 2D images. It expects maximum projection or 2D images of wholemounts, however if it detects a 3D image or Z-stack, it will prompt the user to perform a maximum projection.
GAT has been tested on common file formats supported by Fiji or Bioformats (czi, lif, png, tif).
If the Z planes are out of focus and the final maximum projection is blurry, you can use the extended depth of field projection option.
Last updated